Let’s start with general rules
Picking out the right size filter bag is important, equally important is how to pack your filter bags.
Don’t over pack your filter bags. This means don’t pack in so much material that you are unable to pre-press or flatten your bags. If the bag is over packed and tight you run the risk of bursting your filter bag, allowing plant material into your Rosin. You don’t want that.
Don’t leave spaces. If there are spaces in the bag with no material Rosin can get caught up in the filter bag and you can decrease your yield.
Using a Rosin Tech Pre-Press Mold can help prevent this issue by spreading the material evenly throughout the filter bag.
How to Bottle Tech Style for Rosin Press?
We have put together a very simple guide for you. Determining what micron bag to use for your type of flower. The fresher the flower the bigger the micron, the smaller micron will help keep plant material out of your extraction.
160 micron is for flower with 70-73% humidity, 120 micron is for 66-69% humidity, and 90 micron is for 65% humidity and below.
The bag sizes are not meant to hold more then they say as there will be risks of blowout at lower then 1350psi on material.
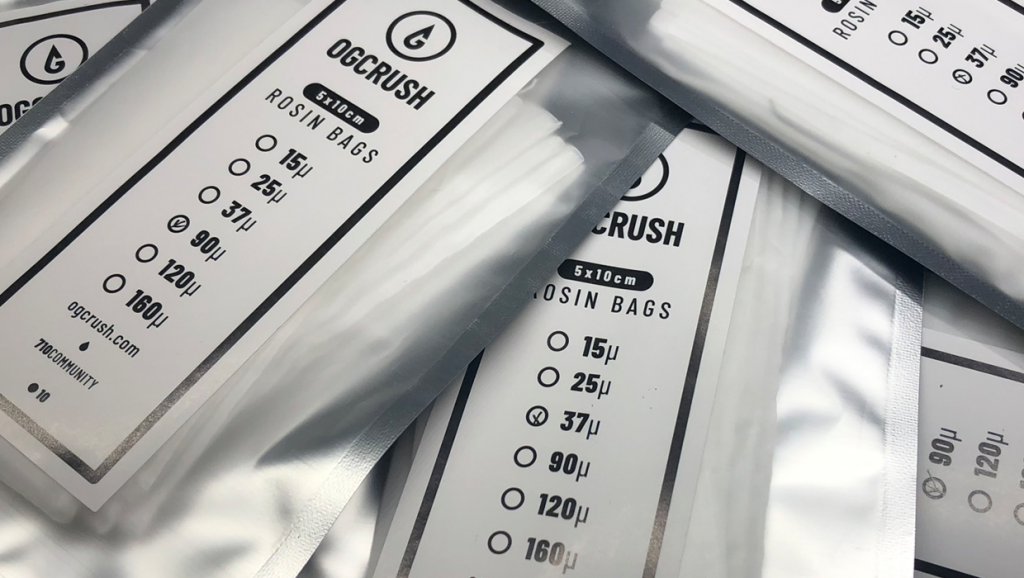
Since we press dry flowers in our test, let’s look at a 25 micron bag.
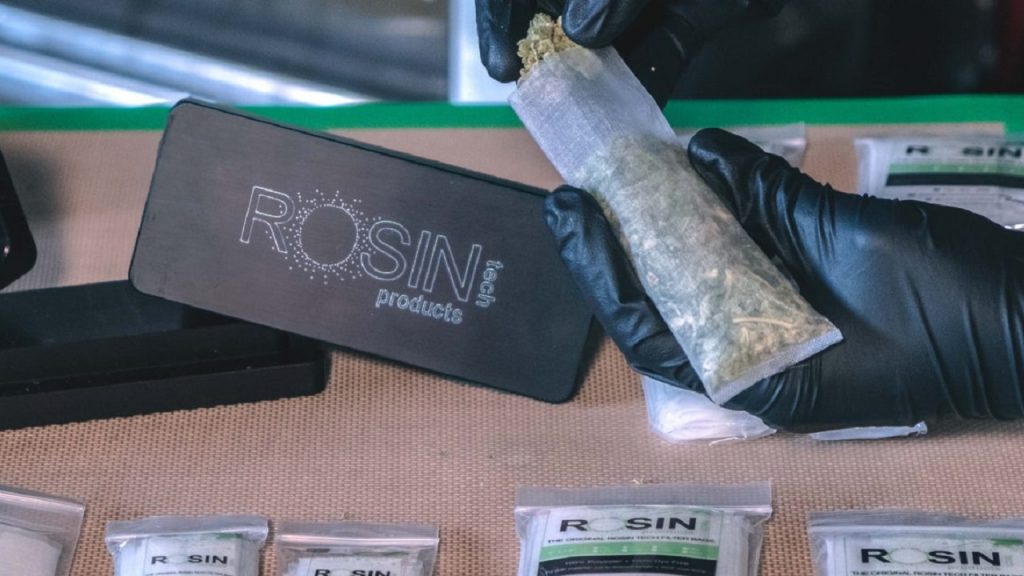
The first step to the Bottle Tech style is to fill the material with high edges in a cylindrical shape. A pre-press mold is best suited for this, with which it is very easy to create a pressed thaler. It is best to fill the rosin coin into the bag afterwards. Then reverse the corners. Make sure the reverse corners overlaped.
Once the bag is packed then you will cut off excess bag material and fold like a present and you are ready to smash. For our test we used the 25 micron filter bags from ogcrush.
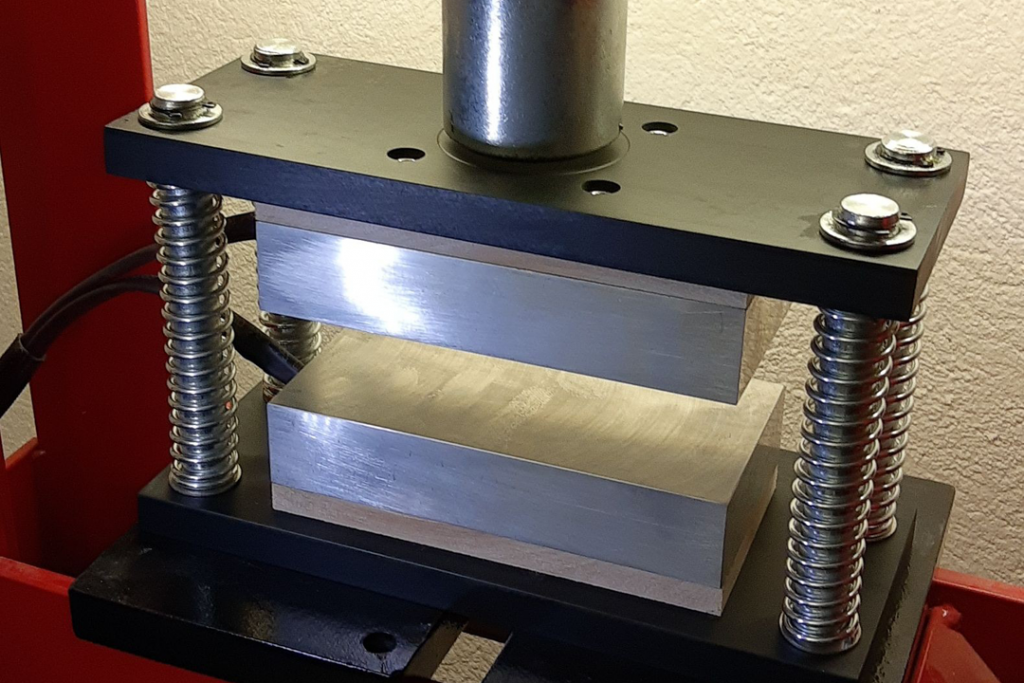
During pressing, the buds will expand in the filter. Pressing this puck with 3 tons of force is enough for pressing 7g using the vertical filter build.
For presses rated for 6+ tons, with the adequate surface area on the plates, multiple filters may be pressed at once.
The caged plate kits have a limited opening in-between the upper and lower platen, so it is recommended to try a small amount of a particular cultivar first, and then the full load after confirming the puck will not be too tall.
Flowers
When packing a filter bag with flower, begin by placing whole buds into the opening of the bag and pushing them towards the ultrasonic-sealed edge of the bag. You can push the buds down with your finger or a narrow tool. We recommend using whole buds as opposed to grinding your material because the process of grinding will actually agitate the trichomes and some of these trichomes will get caught up in the grinder teeth, reducing your overall THC content.
Continue packing until you’ve filled your bag. The bag should feel full, but not tight or overpacked. If there is excess filterbag, cut off extra material with a scissor to avoid rosin getting absorbed in the bag.
Once your bag is full we recommend using a pre-press mold, there are different size molds for various heat plate and filter bag sizes. Check out Rosin Tech Pre-Press Molds. This technique of flattening you filter bag with your material in it allows for increased yields and prevents blowouts.
Once you’ve pre-pressed your bags, place it in between parchment paper and you are ready to press!
Dry Sift and Ice-Water/Bubble Hash
If you are packing your filter bags with Dry Sift or Ice-Water/Bubble Hash the approach is slightly different. You’re going to want to use a spoon or funnel to insert this finer material. Slowly spoon or funnel the dry sift/hash into the bag, making sure along the way that the material is reaching the bottom of the bag and being spread evenly throughout.
When pressing dry sift/hash be very careful not to overpack your bag. The bag should NOT feel thick or completely filled. Even before a pre-press the thickness of the bag should not exceed ¼ inch. Once the material is spread thinly and evenly throughout your bag make sure to leave ¼-½ inch of the filter bag empty. Fold this excess material back, “sealing” the bag. For mass production a neat little trick is to use a tiny dab of rosin to keep that “seal” in place. tIf the unused part of the filter bag exceeds this length cut off the extra material with a scissor.
Folding the opening of your bag is the first step in preventing blowouts. The second step is using a pre-press. Flatten your bag until it feels solid and harder to the touch. The final step in preventing blowouts is using a second bag. (You can use a higher, lower or equal micron size depending on your objective.) Place the folded side of the original filter bag into the opening of the second filter bag and push it all the way to the ultrasonic-sealed edge. Using a V-shape indent makes it easier to slide your first bag into the second. Once the original bag is fully contained in the second bag check again for excess material and cut it off with a scissor, always being careful to avoid cutting the ultrasonic seal. Check once more that the material is spread evenly within both bags, smoothing out any ruffles or clumps. Throw in one more pre-press for good measure and you are ready to press!
Our conclusion
As you can see the process of making Rosin can get quite technical, but with a few easy steps you can ensure an efficient press with maximum yields every time. It may seem difficult at first, but that’s what we’re here for.
One Response
Hey guys, thanks for making this video. its super helpful! squeezing in the bag so all the trics stay in the bag is a great tip that anyone can benefit from.
have a few questions:
Have guys have done any A/B testing with using the pre-press?
is there a curing time for rosin after the press? if so, how long?
Do you have any suggestions for someone who is using smaller bags (2×2) of flower (and sometimes kief/dry sift) in a press with big plates like the one form Pure Pressure? I know the rosin shouldnt touch the plates for very long because of terp degradation